

Screen recording has become an essential tool in our lives, whether for making tutorial videos, client projects, or streaming. However, finding a good screen recorder can be challenging. Some come with costs, watermarks, or time limits. Let’s check out some of the best free screen recorders out there. The recorders we’ll discuss provide a user-friendly experience, no watermarks, and additional features beyond basic screen recording.
ShareX
ShareX is a free and open-source program for Windows that lets you easily record your screen. You can capture the full screen, specific windows, or custom areas, and even record audio simultaneously. ShareX offers various video formats for recording, and you can adjust the FPS (frames per second) as needed.
Additionally, ShareX allows you to capture screenshots. If you need a versatile and free screen recording tool for Windows, ShareX is definitely worth considering.
Loom
Loom is a fantastic screen recorder that’s great for making quick explainer videos, giving feedback, or communicating asynchronously. With Loom, you can capture your screen, camera, microphone, and even internal audio, so you can record system sounds too.
What’s cool is that you can customize your recordings by adding camera frames, backgrounds, and blurring effects. Plus, you can choose the resolution from 720p up to 4k HD. But Loom isn’t just about recording screens; it also offers video hosting. Your recordings are automatically saved in the cloud, and you get a shareable link. This makes it super easy to share with colleagues, clients, or friends.
One neat feature is that viewers can leave comments and emoji reactions right on your video, which encourages engagement and discussion. Plus, whenever someone watches your video, Loom sends you an email notification. Loom offers both free and paid plans. With the free plan, you can record up to 5 minutes of video and have 25 video storage slots. But with the paid plans, you can record unlimited videos with recording length, unlock additional features like drawing tools and custom branding, and have increased privacy controls.
Flashback Express
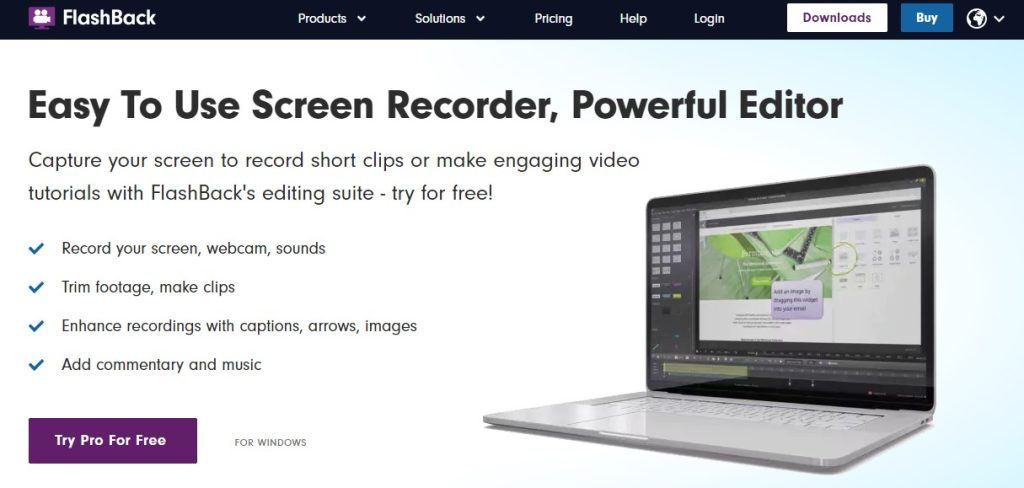
Flashback Express is perfect for making simple screen recordings, whether you’re creating tutorials, presentations, or demonstrations. This software lets you easily capture everything happening on your computer screen, along with sound and webcam input.
With FlashBack Express, you can also do some basic video editing, like trimming footage and adding effects. Plus, you can quickly upload your videos directly to YouTube. It’s important to note that FlashBack Express follows a freemium model. While the free plan doesn’t include advanced features like editing recorded videos, adding animations, or recording in 4K, it still offers almost all other features.
One great thing about FlashBack Express’s free plan is that it doesn’t add a watermark to your recordings. This means you can record your screen for as long as you need without any interruptions from watermarks, making it a reliable choice for free screen recording.
Apowersoft
Apowersoft provides different ways to record your screen and videos, catering to various preferences. You can choose from downloadable software, a browser extension, or their web-based recorder.
The downloadable software, Apowersoft Screen Recorder Pro, works on both Windows and Mac. It offers multiple recording modes such as full screen, specific regions, and webcam recordings.
For quick screen recording, Apowersoft offers a Chrome extension that lets you start recording with just a few clicks. Alternatively, you can use their web version by visiting their website and clicking on the “Start Recording” button. This option is ideal for capturing short videos effortlessly.
In summary, Apowersoft offers a range of screen and video recording options to meet your needs. If you require advanced features and editing capabilities, Apowersoft Screen Recorder Pro is a great choice. However, if you prefer a free and user-friendly option, their Chrome extension or web version are excellent alternatives.
OBS Studio
If I had to recommend one screen recording software, it would be OBS Studio. It’s incredibly versatile and suitable for both beginners and professionals. With OBS Studio, you won’t find yourself missing any essential recording features or being limited by paid options.
OBS Studio stands out because it offers a comprehensive set of tools that cover almost every aspect of recording. Whether you’re capturing gameplay, creating tutorials, or streaming live content, OBS Studio has got you covered. Its flexibility makes it a favorite among content creators of all levels.
While the interface may appear complex initially, once you get the hang of it, you’ll appreciate the depth of features it provides. From basic screen recording to advanced options like specific area or window recording, OBS Studio offers a plethora of customization options to suit your needs.
One of the standout features of OBS Studio is its advanced audio mixer, which allows you to fine-tune audio sources and create professional-quality recordings. This feature is particularly useful for streamers who need precise control over their audio levels.
OBS Studio is lightweight and doesn’t require hefty system resources. However, it performs best on PCs with higher configurations.
For Windows users, the basic requirements are:
- DirectX 10.1 compatible GPU
- Windows 10 or Windows 11
For Mac users, the basic requirements are:
- Intel or Apple Silicon CPU
- OpenGL 3.3-compatible GPU
- macOS 11 (“Big Sur”) or later
Bonus Screen recorder
XBOX Game Bar
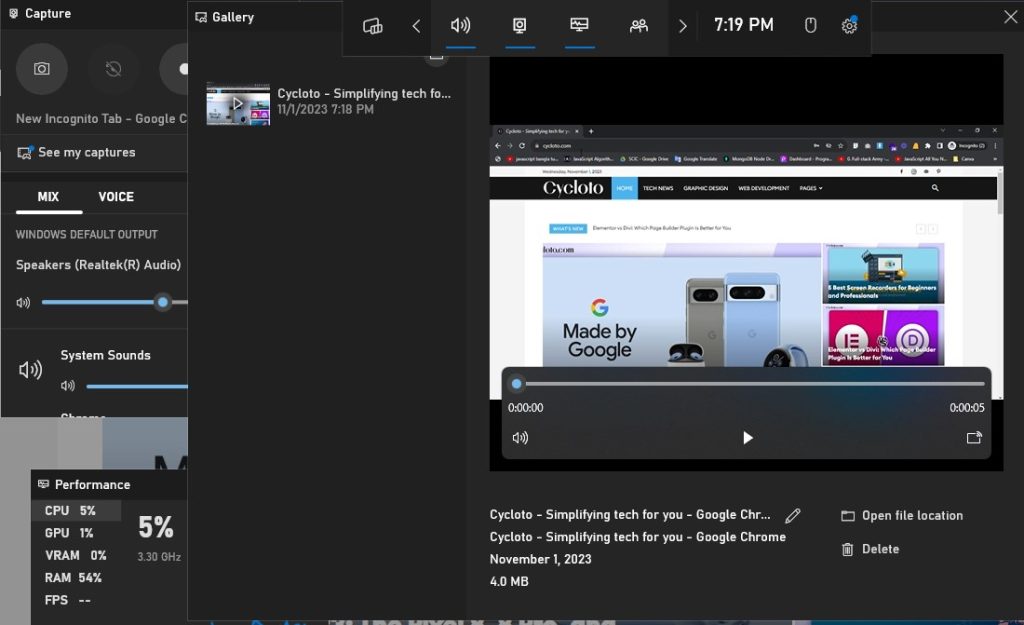
In case you didn’t know that Windows has a built-in screen recorder? You can activate it by pressing Windows + Alt + R. This recorder covers all the essentials, such as turning on the microphone, adjusting sound settings, and using shortcut keys.
Zoom:

We all know Zoom is a video conferencing tool. But they have a feature that lets you record both your screen and webcam. It’s handy for capturing meetings and presentations all in one place. While its recording features are basic, you can select what you want to record, like your entire screen or a specific window. You can also add annotations to emphasize points. However, if you frequently record your screen and need advanced features like controlling video quality, other software might be better suited for your needs.
FAQ of Best Free Screen Recorders
How to screen record on iPhone 14?
There are many useful apps on the App Store that let you record your screen. As well as, there’s also a built-in feature you can use. Here’s how to do it:
Activate Screen Recording: Go to Settings > Control Center. Scroll down, find “Screen Recording,” and tap the green plus sign to add it to your Control Center.
Start Recording: Swipe down from the top-right corner of your screen to open Control Center. Tap the Screen Recording icon to start recording. When you’re finished, tap the red recording icon or the red bar at the top of the screen, then tap “Stop” in the pop-up.
Additionally, you can use apps like DU Recorder or Record It for more advanced features. These apps let you record your screen with or without audio, trim your recordings, and even add text and drawings to your videos. They’re user-friendly and offer a variety of helpful features.
How to screen record on iPad?
Both iPhone and iPad have a built-in screen recorder. The process is the same: Go to Settings > Control Center > More Controls. Find “Screen Recording” and tap the “+” button next to it. After that, the recording process is just like on the iPhone.
How long can you screen record on iPhone?
There’s no time limit for screen recording on an iPhone’s built-in recorder. The only limit is how much storage space you have. So, you can record as long as your iPhone has space for the video.
How to screen record Chromebook?
Chromebooks come with a built-in screen recorder! To use it, press and hold these three keys together: Shift + Ctrl + Show windows key. If your Chromebook doesn’t have a Show windows key, use Ctrl + Shift + F5 instead. A menu will show up. Click on “Screen record.” With Chromebook, you can record the entire screen, a specific area, or a particular window.
How to record screen on Mac?
There are two built-in ways to record your Mac screen:
- Using Shortcut: Press Shift + Command + 5 to bring up the Screenshot Toolbar. It lets you capture screenshots and screen recordings simultaneously. You can choose to record the entire screen or a selected portion.
- Using QuickTime Player: Open QuickTime Player and go to File > New Screen Recording. This brings up a recording menu where you can choose to record the entire screen, a specific window, or include microphone audio.
Read more: Top 5 Best Cloud Computing Services

")
It’s a shame you don’t have a donate button! I’d certainly donate to this superb blog!
I guess for now i’ll settle for book-marking and adding your RSS feed to my Google account.
I look forward to fresh updates and will talk about this
blog with my Facebook group. Talk soon!